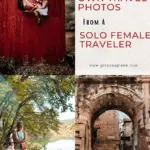
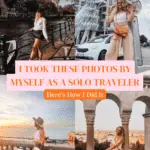
Want to learn how to take photos of yourself while traveling that effortlessly capture the beauty of your adventures? If we haven’t met, I’m Gina, and I’m an aesthetic traveler who has fallen in love with showcasing the beauty of my travel blogging journey through photographs. Because I often travel solo, this was a skill I had to learn to develop through practice and repetition. Now, it’s become one of my favorite parts of traveling!
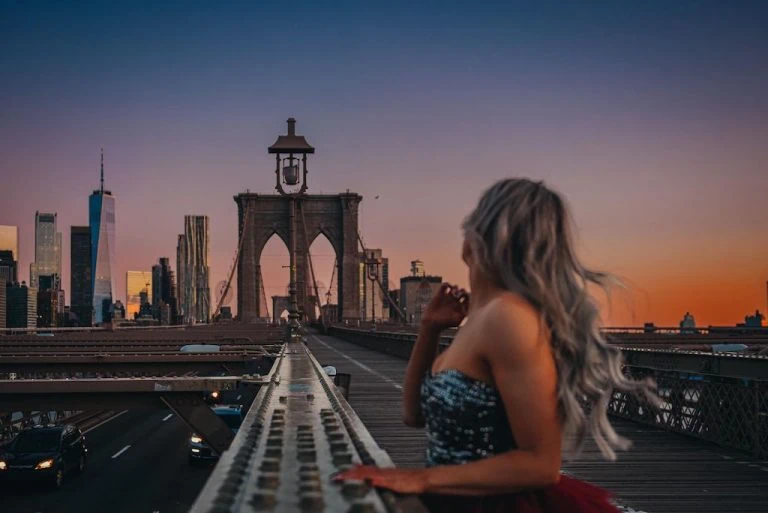
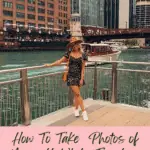
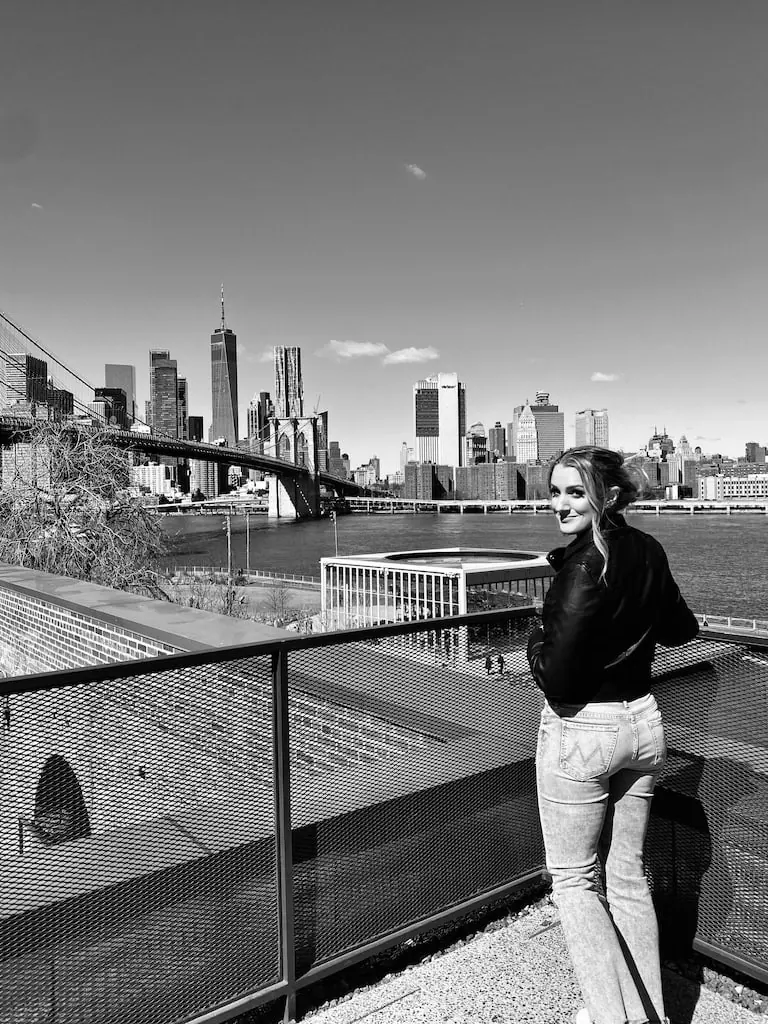
In this post, I’m sharing my top five tips for taking your own travel photos. You’ll learn about setting up your shot, posing with movement, photo editing, and more. Best of all, these tips translate seamlessly across settings, from outdoor adventures and moody indoor bars to city skylines like the one below:
One of the best “side effects” of becoming a blogger was learning a lot about photography and developing better photography skills. I quickly realized the impact that well-executed photos had when it came to showcasing a place I had been – and in fact, photography is a lot of what helped me classify myself as an aesthetic traveler in the first place! Whether you’re an influencer or you just want to sharpen your skills, this post will show you how to capture your own photos in public without relying on strangers or sacrificing the vibe.
Before we dive in, I want to be fully transparent and say that I am NOT a professional photographer, nor have I taken any professional photography courses. The tips I’m sharing are ones I’ve learned through trial and error, along with doing photoshoots with professional photographers (check out 20 Best NYC Instagram Photo Spots for the photoshoot that launched my travel blogging career!). I take and edit all of my photos on my iPhone, and do not own a professional camera.
1. Invest in a Tripod
Bringing a tripod with me on trips has been a game changer when it comes to travel photography. Sure, you can ask strangers to take your photo, and most of them will likely oblige. But a tripod gives you freedom and control. What if that stranger didn’t get a good shot? With a tripod, you can take as many photos as you like until you get it right. You’re no longer relying on the skill of others, awkward arm extensions, or perfectly balanced rocks. Instead, you can slow down and frame your shot intentionally (more on that in the next section!). Most tripods come with a remote that you can bluetooth to your phone so you aren’t relying on your phone’s timer or “burst” shots. Some tripods also come with flexible legs or a ball head, which makes it easier to shoot on stairs, cobblestone streets, beaches, or overlooks.
- Shop my favorite (under $35!) tripod that I bring with me everywhere
Often times, I’ll wake up early in the morning so I can get photos of me in places with nobody in the background, and a tripod is essential for this. It has allowed me to get some of my favorite vacation shots, like the one below:
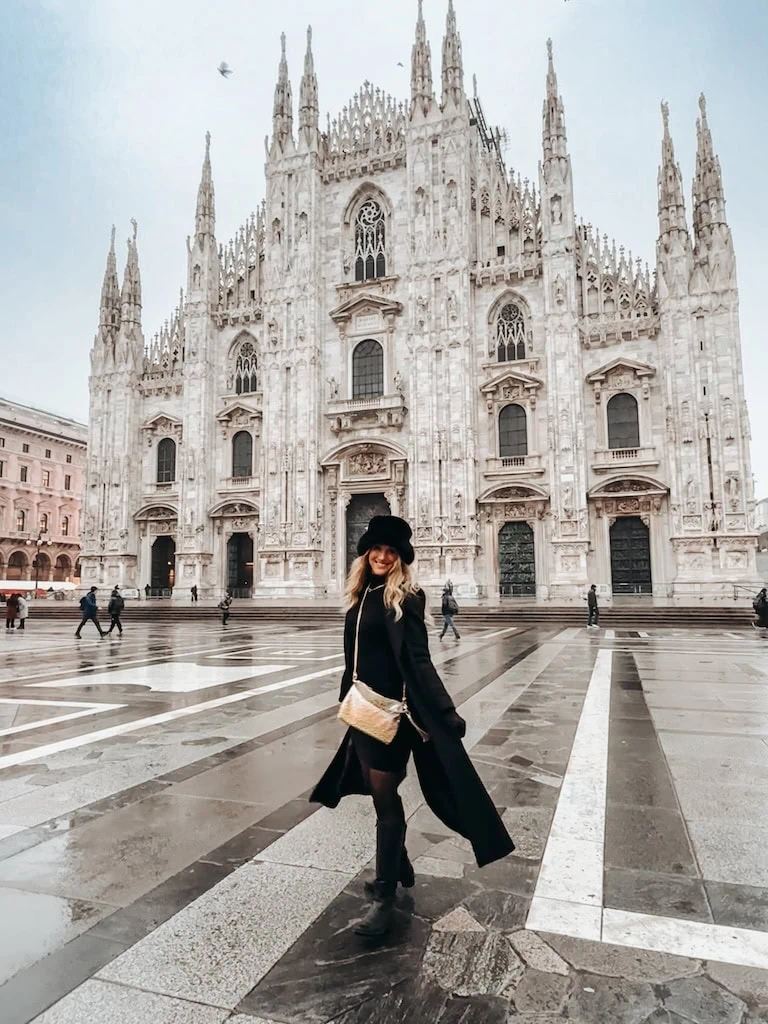
Post: Things To Do in Milan, Italy at Christmastime
- Pro Tip: Always do a “test shot” after your tripod is set up. This helps ensure your remote is working properly and your lighting is good.
Getting Over the “Awkwardness” of Taking Your Own Photos in Public
It’s important to note that some people – myself included – tend to feel a little awkward when they first start taking photos of themselves in public with a tripod. People stare at you, and while most of them don’t say anything, it’s very obvious that they want to ask what you’re doing. But I’ve found a lot of them stare because they’re curious, not because they’re judgmental. In fact, I’ve actually had people come up to me after I’m done taking my own photos and ask if I would take a photo for them, because I “look like I know what I’m doing.”
Like most hard things in life, you’ll start getting much more comfortable with taking your own photos the more you do it. If you’re a travel influencer or blogger, it’s helpful to remind yourself WHY you’re doing it. If I ever feel uncomfortable, I stop and remind myself that “this is my job” – and suddenly, the process becomes easier. Worst case, I always remember my mom’s golden advice: “it doesn’t matter, because you’re never going to see these people again!”
2. Assess Your Background Before You Take Your Photo
When it comes to photography, details are EVERYTHING. A lot of people overlook the details in the background of the photo – but they are every bit as important as the subject (aka you!), and can make or break your shot. When I’m out getting photos in a new city, I am constantly asking myself, “would this make a good background?”
Some of the main things I look for in a good background include vibe, symmetry, color, and good lighting. The photo below that I took in Florence, Italy happened to have all 4:

Florence, Italy
Setting Up Your Shot
After I set up my tripod, the first thing I do is study my background so I can make sure I get the exact scenery and angles that I want. Again, this is where the details matter. Noticing little things like a trash can overflowing with garbage or a stoplight cutting through the top of the frame can instantly cheapen an otherwise beautiful photo. Don’t forget the details when it comes to your phone or camera either: lowering or raising your tripod, zooming in or out, and adjusting the angle of your phone are all little things that can make a big difference.
Positioning Yourself in the Photo
Once I get my background right, I assess where I’m going to position myself in the shot. Often times, I’ll find something on the ground that’s towards the center of the frame, or wherever I want to stand. It could be a crack in the sidewalk, a colored tile in the floor…anything. This takes the guesswork out of positioning and allows me to confidently step into the frame without wondering where I should stand.
- Pro Tip: Taking good photos with a tripod takes practice, but combining both of these steps has made a huge difference. Assessing my background AND knowing where to stand helps me get good photos much faster, because I’m not having to constantly retake my shots.
3. Understand the Rule of Thirds
Understanding the Rule of Thirds is one of the easiest ways to elevate your photography skills. To do this, start by turning on the gridlines in your phone or camera. The idea is to position yourself along one of those lines, or at one of the intersections, instead of dead center. This creates more balance and depth in your shot.
The Rule of Thirds goes hand in hand with assessing your background and positioning your shot like we just talked about. Once I figure out my background, I ask myself, “Do I want to stand in the center of this photo, or will it make more of an impact if I’m off to one side?” This works especially well in travel photos because it allows the location to shine with you. Placing yourself slightly off-center leaves room for architecture, landscapes, or streets to frame the scene and tell a fuller story.
The photos below were both taken with my tripod and illustrate how positioning yourself via the Rule of Thirds can make a difference:
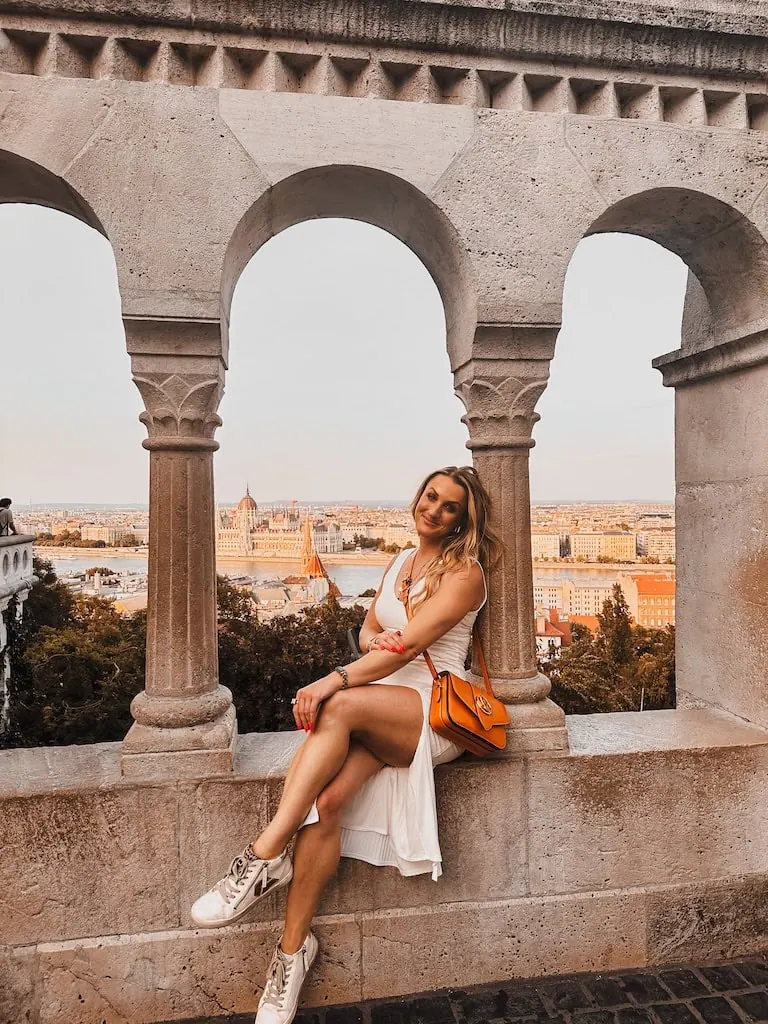
Post: The Best Things To Do in Budapest, Hungary
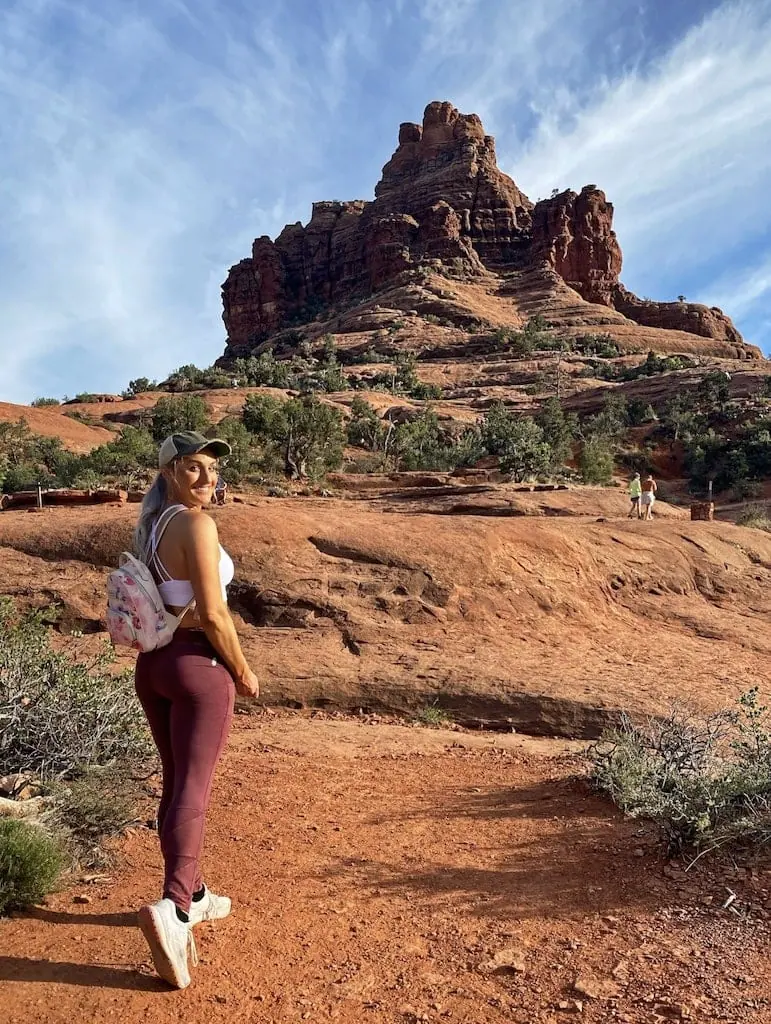
Post: 9 of the Best Hikes in Sedona, AZ
4. Create Movement in Your Shots
One of the biggest things I hear from people when it comes to getting their photo taken is “I don’t know how to pose!”

Post: The Best Things To Do in Barcelona’s Gothic Quarter
Incorporating movement in your shots is a great way to make them look more natural, and also removes the pressure of having to overthink your pose. Remember, movement doesn’t have to be dramatic. Simple actions like walking toward or away from the camera, adjusting your jacket, fixing your hair, turning your head, or shifting your weight can create subtle changes from shot to shot. When I’m incorporating movement, I’m also clicking my tripod remote once every couple seconds so the camera capture the in-between moments – this is where I often find my best shots.

Post: Is Prague Worth Visiting? Let’s Explore This Fairytale City
- Pro Tip: I always keep my iPhone’s Live Photo setting turned ON so it captures more of my movement.
5. Learn How to Photoshop
For years, the term “photoshop” had a negative connotation. People would hear this word and immediately think FAKE! But the reality is, knowing how to photoshop well can enhance your photos while still making them look natural. Any time someone tells me “I wish I could take photos like you!” – I always tell them that you don’t necessarily need to be great at photography, but you DO need to be a wizard at photoshop. I do all my photo editing on the Adobe Lightroom app (there’s also a desktop version, but I edit everything on my iPhone).
Here’s the thing with photoshop: even if you nail all of the above steps I mentioned, photo editing will always be the game changer. Tweaking things to make the colors pop, cropping at certain angles, sharpening the subject or blurring the background can make a huge difference. The before and after photos below show how I was able to enhance my photo by doing these things while still making it look natural.


Post: The Best Christmas Markets in Zurich, Switzerland
Get More Photography Inspo
The Best Instagram Photo Spots, Photoshoot Tips, and More
Photography has become every bit a part of my travel blog as the places I visit. Browse all of my travel photography posts for iconic Instagram spots, hidden gems, and easy tips for taking better photos on your trips.