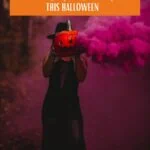
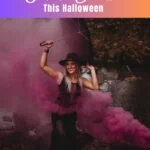
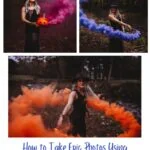
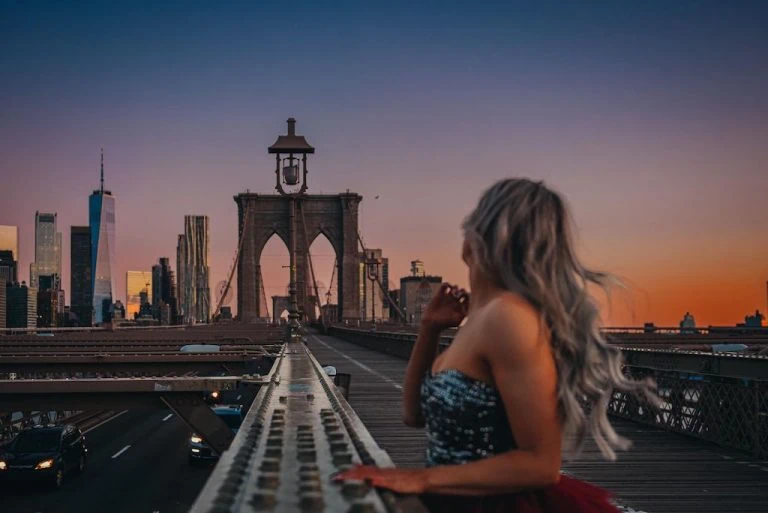
Taking spooky Halloween photos using smoke bombs is a trend that gets a lot of hype every fall. I’ll never forget the first time I saw these witchy-looking photos and absolutely fell in love over the creative possibilities. I was already planning a trip to Salem, Massachusetts in October, so I thought this would be the perfect opportunity to try this trend out for myself. This blog post walks you through all my best tips for taking photos with smoke bombs…plus, at the end, I teach you how we pulled off the viral smoking pumpkin photo!
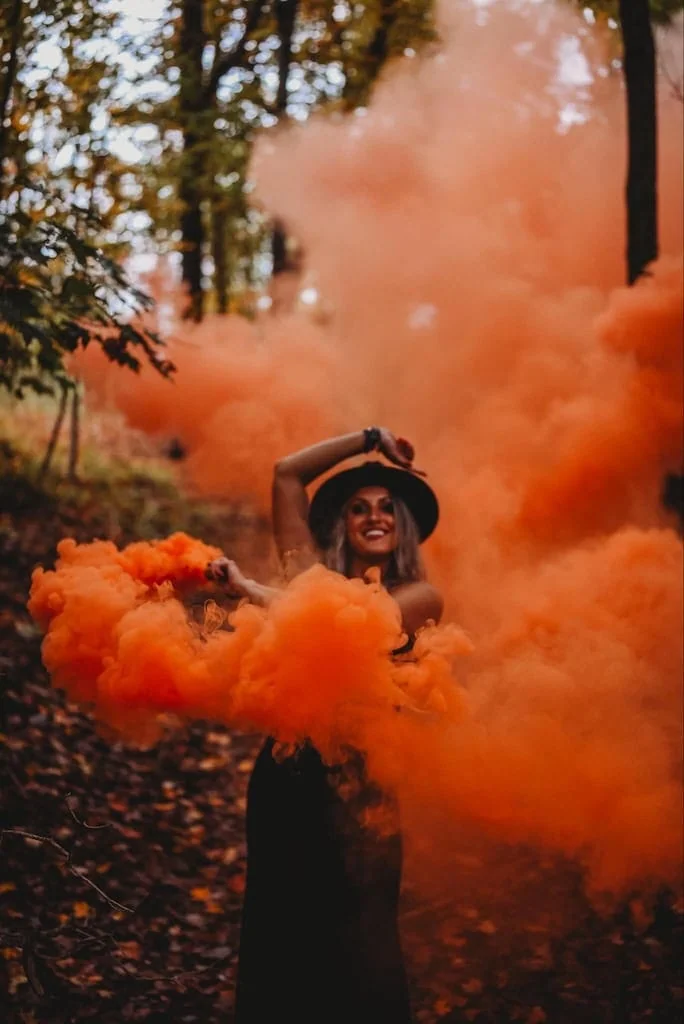
Huge shout-out and thank you to my photographer, Kelsey (@oakhavenphotobykd), for taking these photos! You can see more of her work throughout this website, and specifically on my Travel Photography page.
Let me be so honest: shooting with smoke bombs is harder than it looks. It’s not the “igniting them” part that’s hard, but the factors that you can’t control. Smoke blowing in your face…environmental factors like the weather…getting your mesh skirt caught on a tree branch and not being able to move…(yes, this happened to me as soon as I lit my last smoke bomb. Kelsey and I got maybe 2 or 3 photos before the smoke took over and I couldn’t see to get un-stuck!)
For this reason, it is very important to have good communication with your photographer. There can be a lot of moving and “pivoting” involved, even if your shots were pre-planned. I go into more about why below, but just trust me. There will be times you’ll need to think on your feet!
It may also be a good idea to order a couple extra smoke bombs and practice with them. I did NOT practice at all before doing this shoot, but it wouldn’t hurt…just so you get an idea of what to expect.
Tips for Using Smoke Bombs
1. Know What a Smoke Bomb Is
A smoke bomb is technically a type of firework. While it’s not going to necessarily explode, it WILL emit sparks when you first ignite it, similar to a sparkler. These sparks only last a second or two, and then smoke comes out.
- Side Note: When my package was delivered from FedEx, it had a big “EXPLOSIVES” label on it. I had to sign for it AND show my ID! The FedEx drivers probably draw straws to see who has to come to my house now…
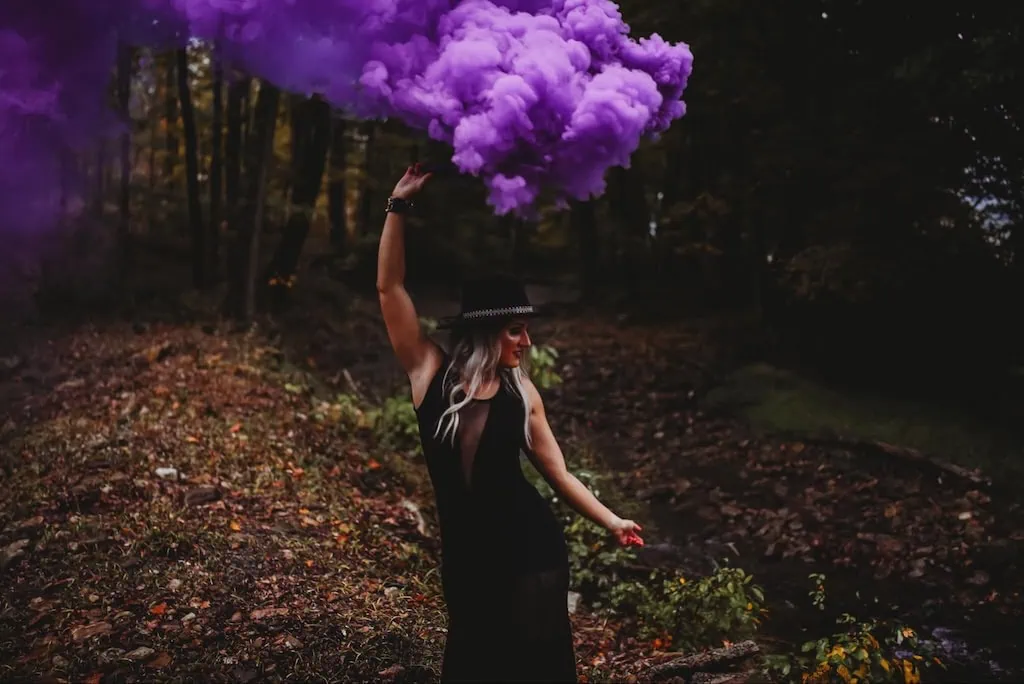
The important thing to keep in mind is these sparks CAN start a fire if you aren’t careful. It’s rare, but it can happen. Use them outdoors, away from dry leaves or dry grass. Have a bucket with water handy, just in case. You can even put the empty smoke bombs in the bucket of water to make sure they’re fully extinguished.
I’ll admit, I was anxious when I read that these have fire potential…but after igniting the first one, I felt pretty confident that they were safe and I wouldn’t go up in flames (I even did this shoot in the woods!).
I read on some other blogs that smoke bombs get hot when you hold them, but I didn’t think the ones I used felt hot at all.
Smoke bombs can also stain clothing. I wore all black, so I didn’t have to worry…but keep in mind if you’re wearing a lighter color.
2. Know How to Properly Ignite the Smoke Bombs
The smoke bombs I ordered were the WP40 Wire Pull Smoke Grenade from Enola Gaye (EG) Grenade Company. I can’t speak to other brands, but I can tell you how I ignited these specific ones. Overall, I found these fairly easy to ignite.
- Pro Tip: EG has multiple smoke bombs on their website to choose from, but I chose the ones I linked because they last for 90 seconds (the others listed on the website didn’t last as long).
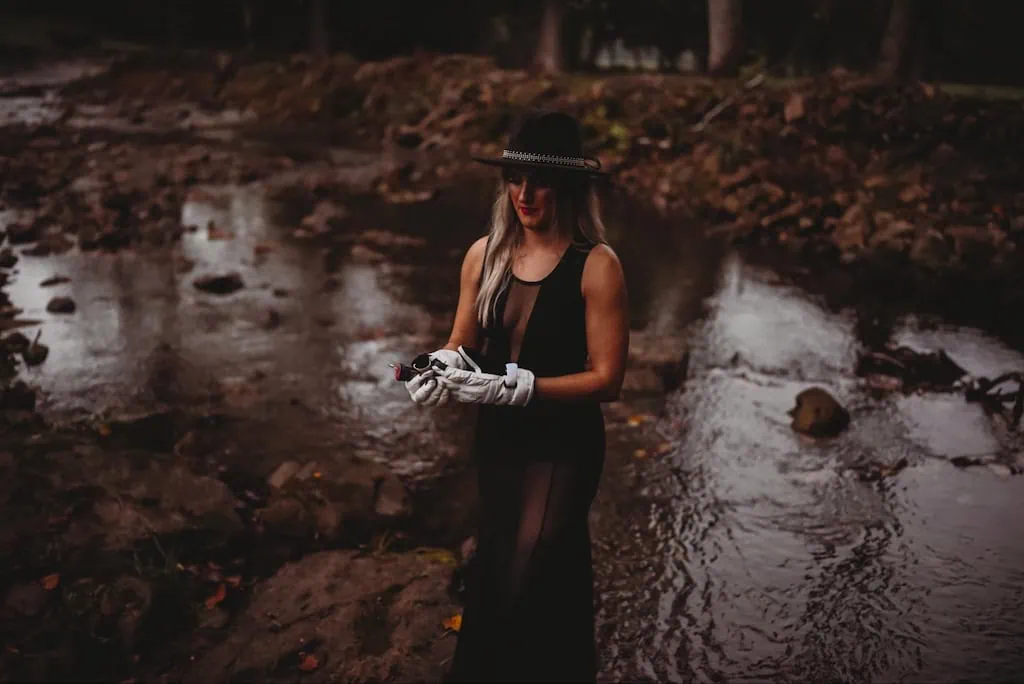
Before you ignite these smoke bombs, grab a pair of gloves to protect your hands from the sparks. The packaging will tell you to use hand and eye protection, but I only used gloves. When you’re ready to ignite these smoke bombs, simply pull them out of the box and locate the metal ring attached by a chain at the top. IMPORTANT: Do NOT take off the outer wrapping.
Once you’ve found this metal ring, point the smoke bomb away from you towards the ground and pull the ring OUT at a perpendicular angle. Do NOT pull it up. The instructions that come with these smoke bombs illustrate this well.
3. Order More Smoke Bombs Than You Think You’ll Need
For my photoshoot, I ordered 6 smoke bombs total (2 pink, 2 orange, and 2 purple). In hindsight, I probably should have ordered more, only because it was my first time using them…but 6 got us plenty of incredible shots!
If you’re on the fence, I would definitely advocate for ordering more than you think you’ll need, especially if it’s your first time playing with smoke bombs. However, because smoke bombs are “explosives,” you cannot return the unused ones if you don’t end up using them all. But honestly, I think you will. The amount of creative things you can do is endless!
4. The Wind Is Not Your Friend
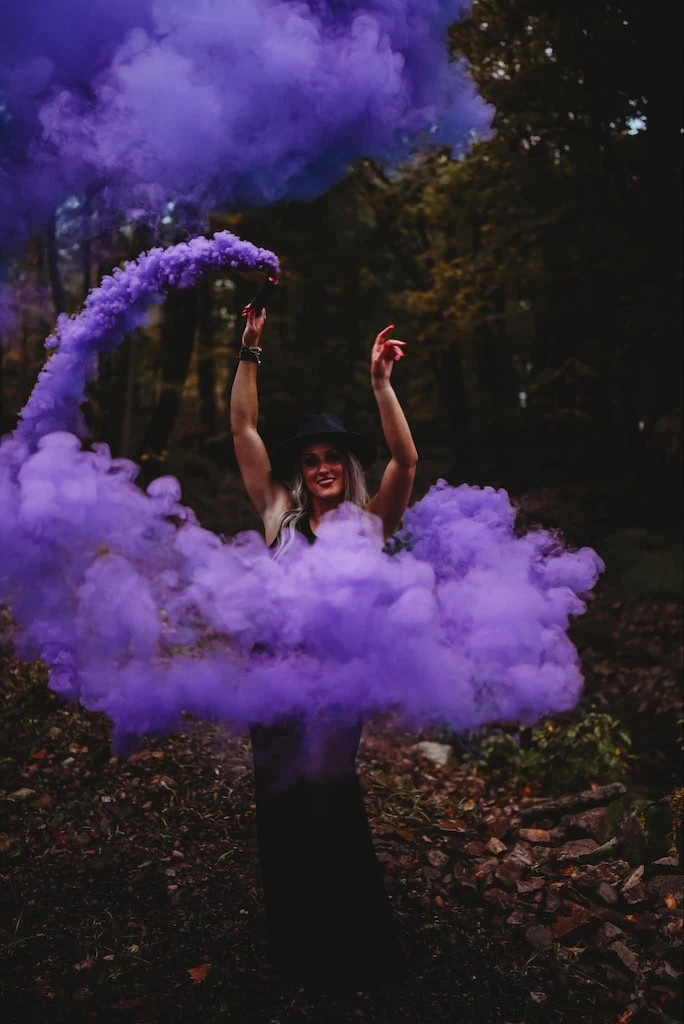
Wind is the worst type of weather for taking smoke bomb photos (and rain is a close second!). Even a small breeze can carry your smoke away or whip it around you instead of where you want it to go. When the smoke gets in your face, not only will it make your eyes water, it will ruin your shot because your face will be obstructed.
Smoke bombs are only to be used outside, meaning the weather has to cooperate for you to have a successful shoot. Thankfully, we only had to reschedule our shoot once due to heavy rain.
Weather-wise, Kelsey and I got VERY lucky on the day we took these photos because it was overcast, slightly foggy, and not windy whatsoever. In fact, it was even drizzling some in the beginning, but I can attest that a light rain will not extinguish your smoke bomb.
How To Use Smoke Bombs in Photos
- Pro Tip: If you have enough smoke bombs, you can do 2 at a time and put one in each hand. I opted to only use one at a time, but this would be a cool idea, especially if you wanted to mix colors!
1. Plan Your Shot Before Igniting the Smoke Bomb
Remember how I said it’s important to have good communication with your photographer earlier? You’re limited to 90 seconds max, so you need to know what you’re going to do in the shot before you do it. Kelsey and I pre-planned every shot: we talked about what props we were going to use, how and where I was going to move, and essentially set everything up before igniting the smoke bomb in order to maximize our time.
2. Know Your Angles…and Keep It Moving
Like I previously said, Kelsey and I were blessed with zero wind during our photoshoot. But even still, there were times the smoke got in my face, partially because of how I chose to move my arm with the smoke bomb, but also because smoke does what it wants!
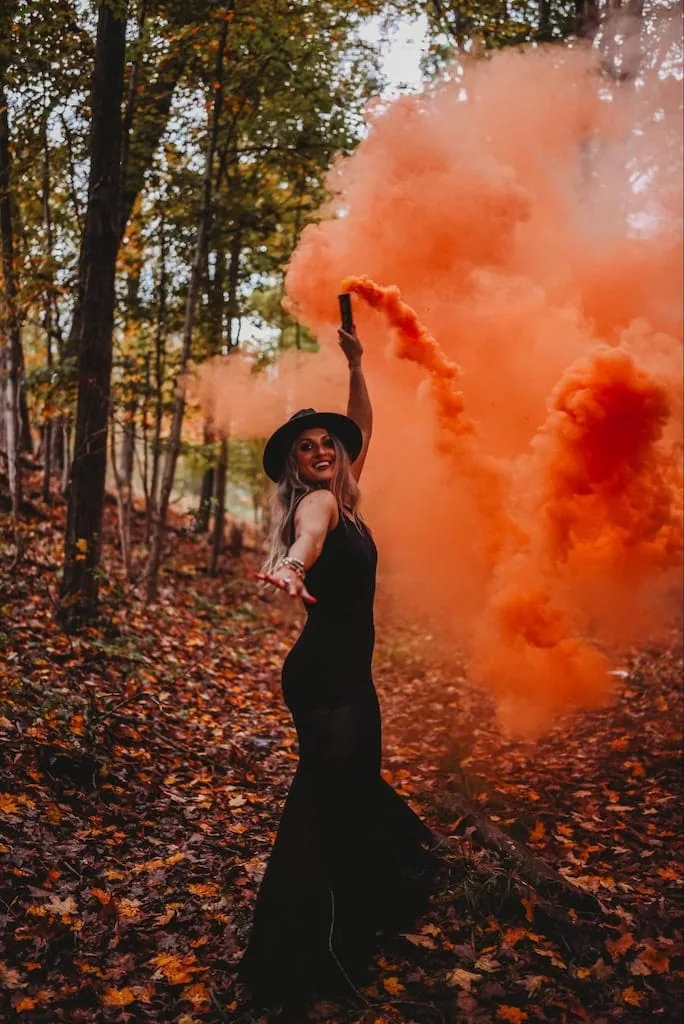
I found that a lot of my best shots were when I was pointing the smoke bomb either behind me or over my head. If I circled my arm in front of me, the smoke would drift up to my face.
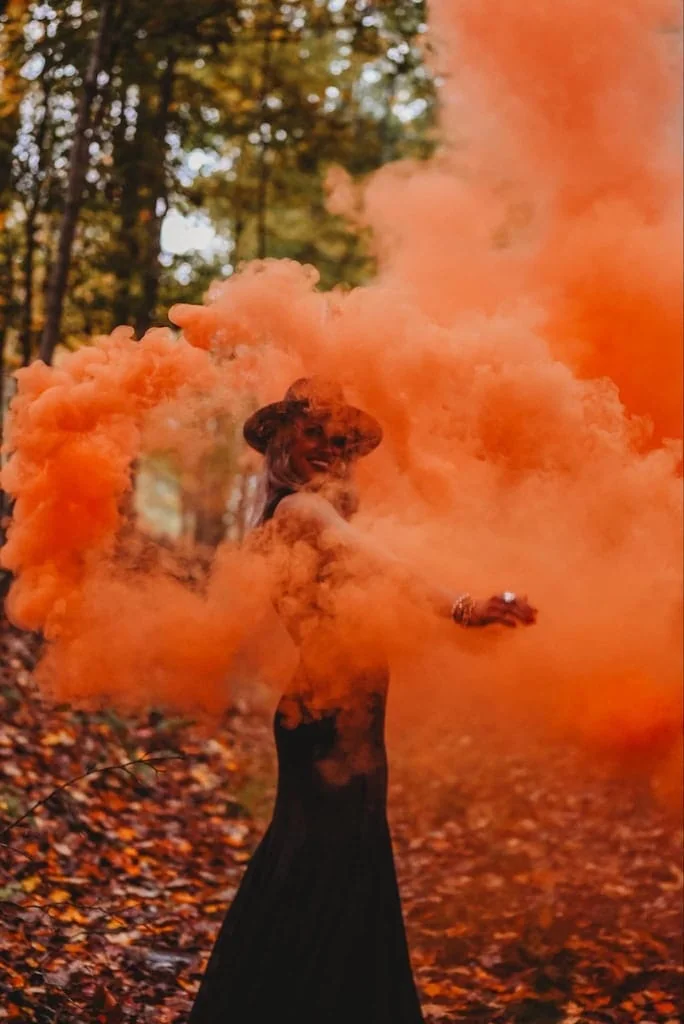
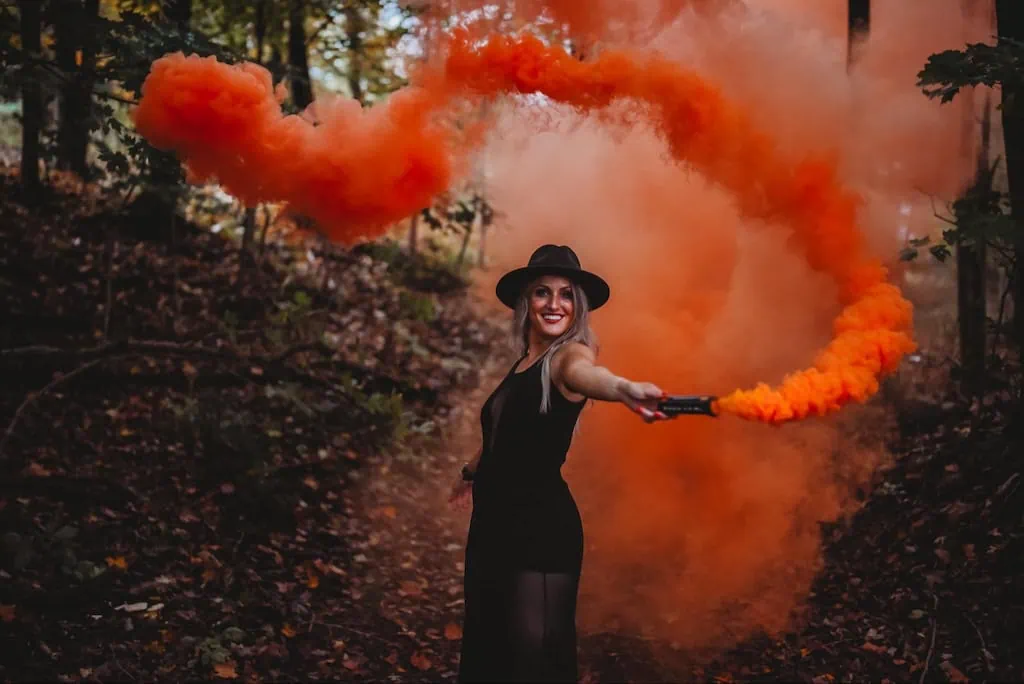
But the shots where I put the smoke in front of me were too cool to not do at all. I quickly learned I had to either keep walking forward or to the side when I did this, so I could still stay in focus. Other times, the best thing to do is keep the arm with the smoke bomb in it still, and just let the smoke do its thing for a few moments.
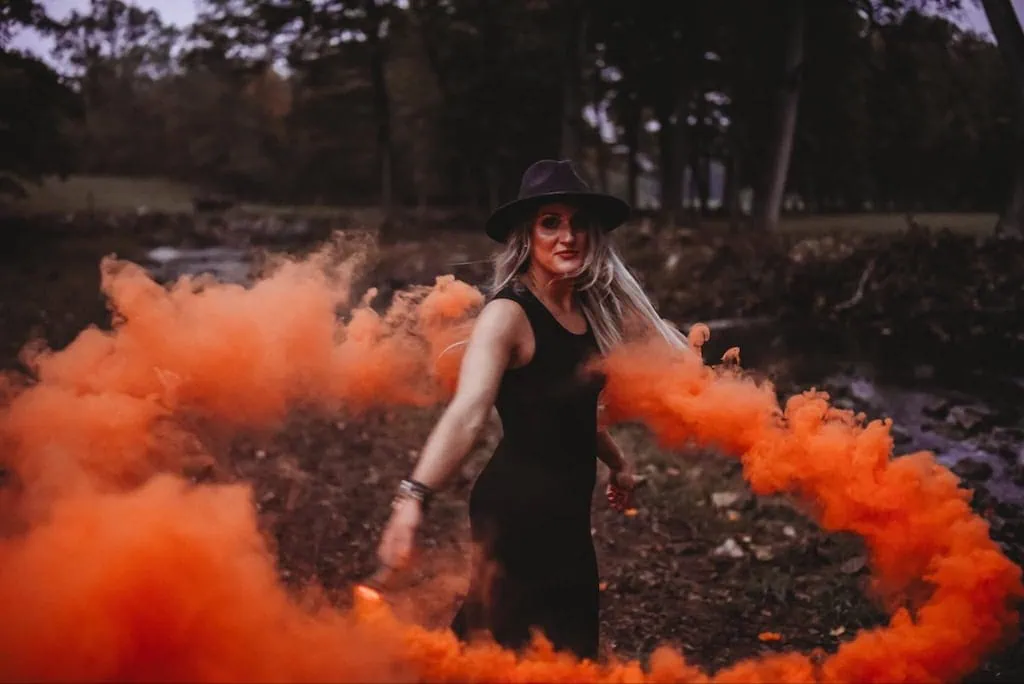
3. Put the Smoke Bomb on the Ground
In this shot, Kelsey had me lay the smoke bomb on the ground and walk in its path. I would recommend doing this with at least one of your smoke bombs, because you can get some really cool effects. You can also hold a different type of prop, or no prop at all.
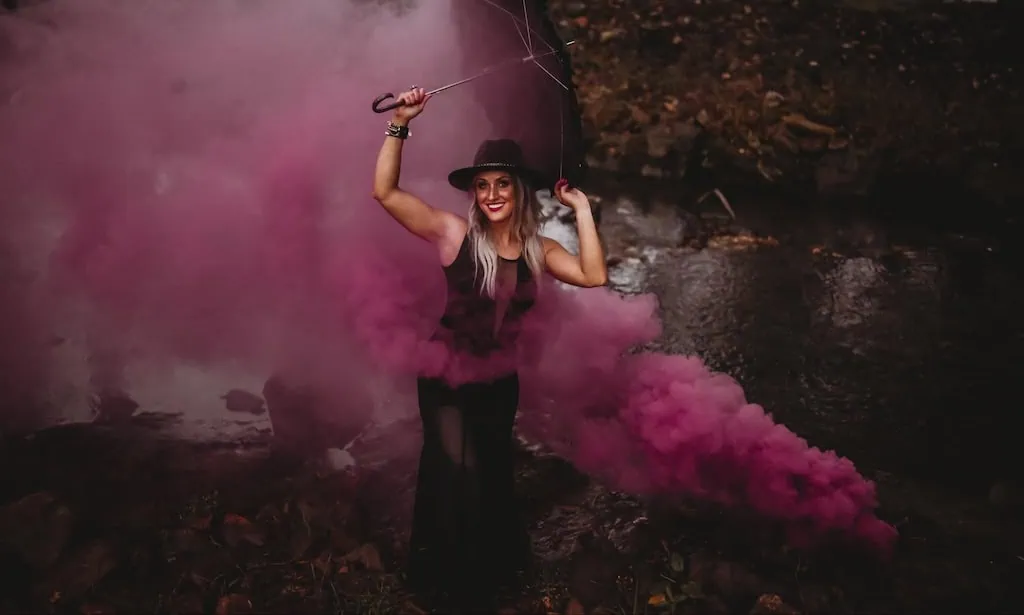
- Pro Tip: I have seen photos with umbrellas where people put the smoke bomb underneath the umbrella and let it blow down. Although it looks really cool, I chose not to attempt it because I knew I would get a lot of smoke in my face.
Props to Use in a Halloween Smoke Bomb Photoshoot
You can get really creative with the props that you use in these photos. I used a pumpkin and an umbrella, but you could use anything below. Keep in mind, one hand is going to be occupied with the smoke bomb unless you set it on the ground.
- Pumpkin or carved jack-o-lantern (the “smoking pumpkin” photo trend gets a lot of hype every year. I talk more about how I did this below)
- Umbrella
- Lantern (put a flameless candle inside!)
- Wand
- Cauldron
- Book…err, spellbook
Where Should I Do a Halloween Smoke Bomb Photoshoot?
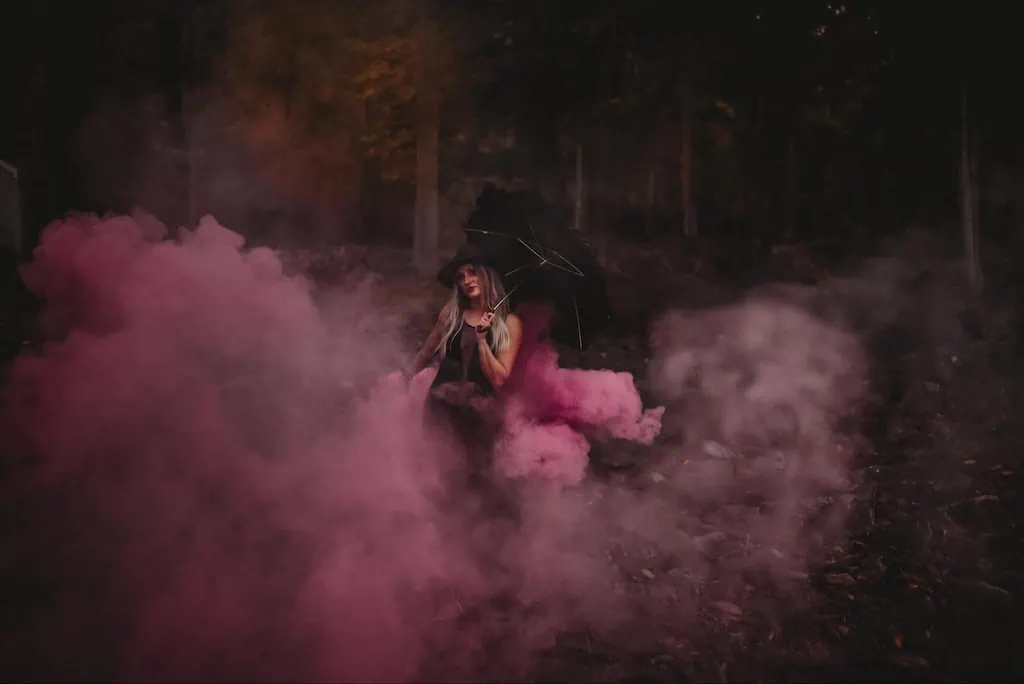
Although I will use these photos in my Salem, Massachusetts posts (coming October 2024!!), Kelsey and I shot these photos in a semi-wooded area in West Virginia. We aimed for golden hour, but it ended up being cloudy that day, giving them an extra-spooky feel!
IMO, these photos are best taken somewhere with trees or woods in the background, especially if the leaves have already changed. You could also do an open field, because you wouldn’t have anything there except you and the smoke, giving you tons of room to play.
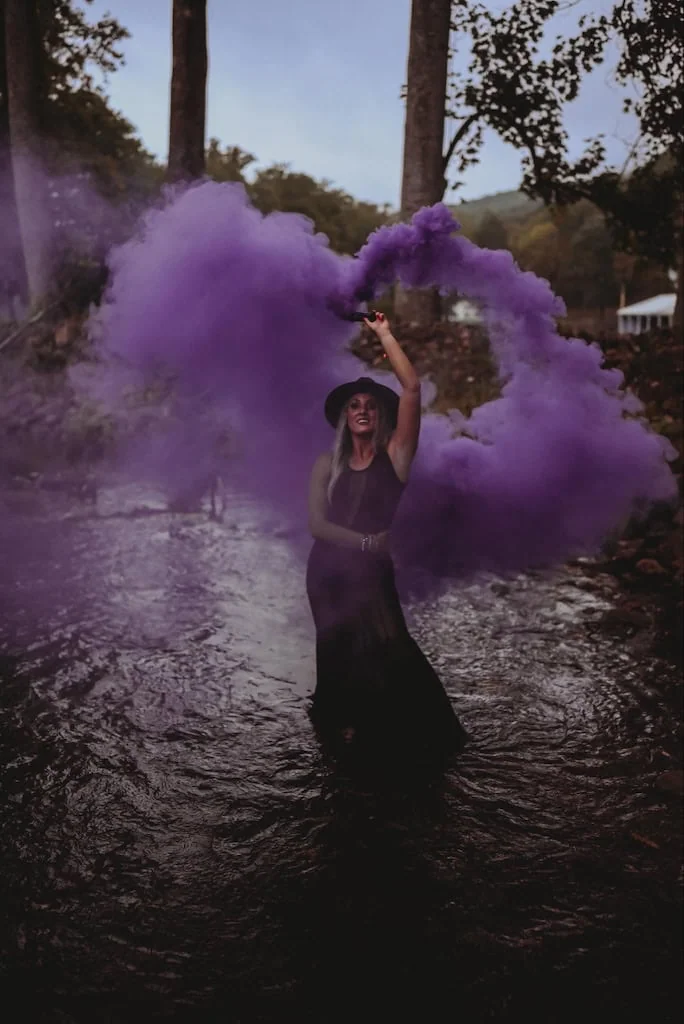
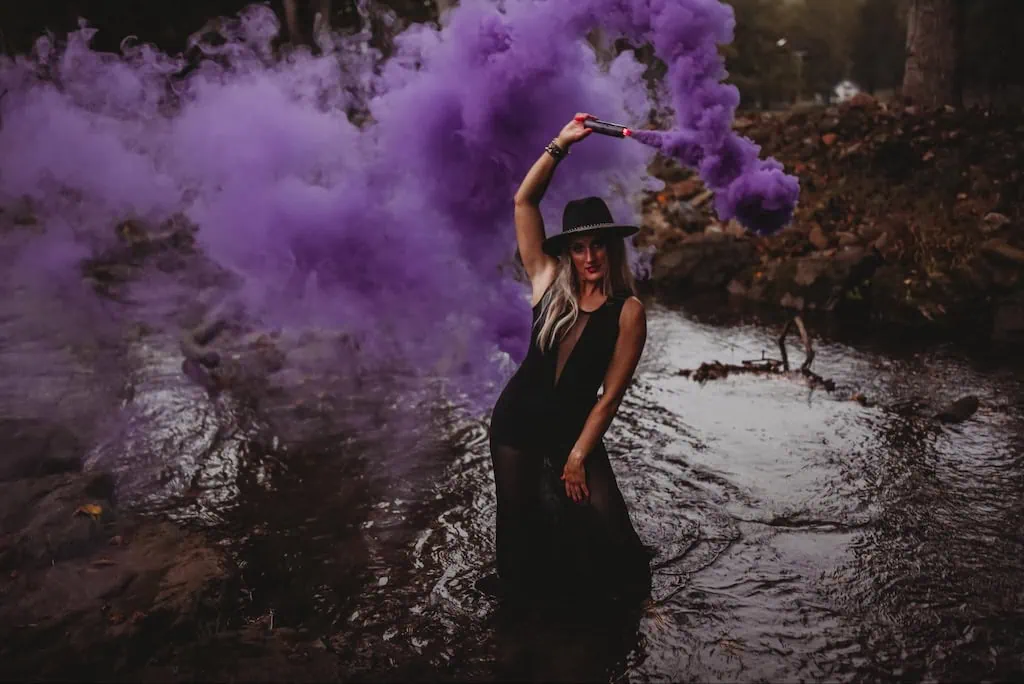
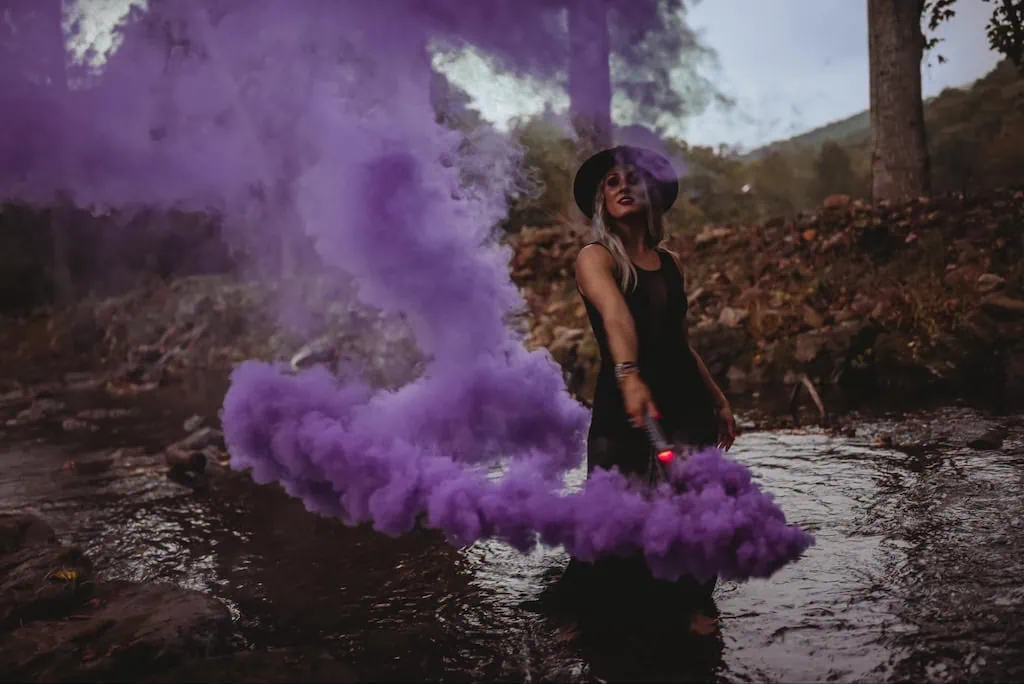
The land that Kelsey and I used had a creek nearby, so we thought it would be really creative if we got some smoke-on-the-water shots. The only downside to doing this is you don’t have as much room for error, since it will be hard to move if the smoke starts blowing in your face.
But if you have this opportunity, I’m going to tell you to do it – despite having narrow room for error. I LOVED the photos we got in the water.
And Lastly…How To Take the Viral “Smoking Pumpkin” Photo
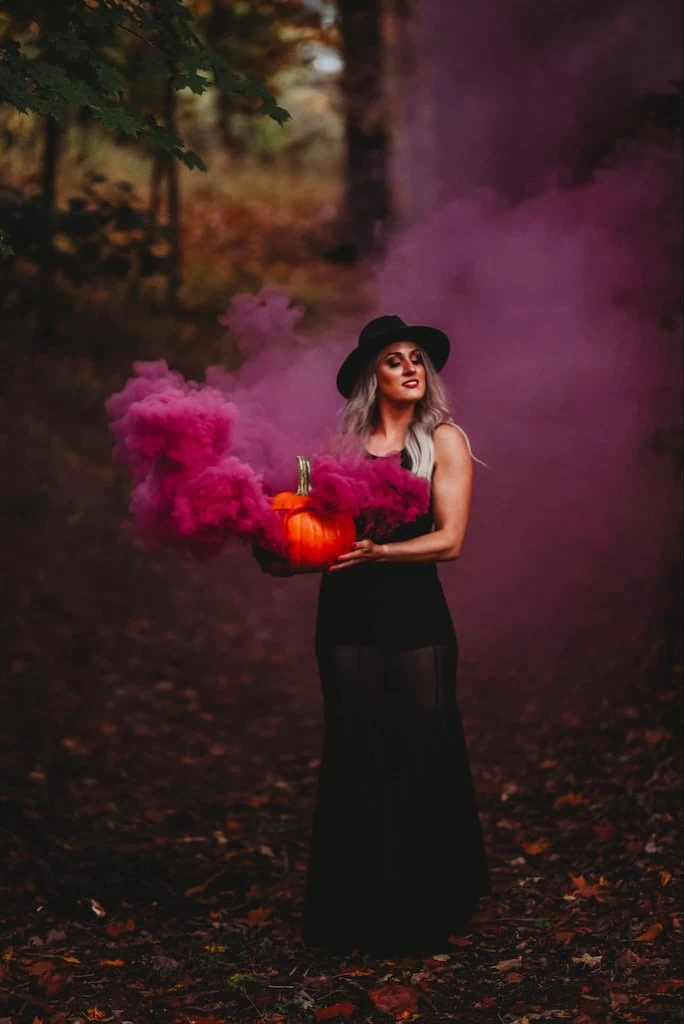
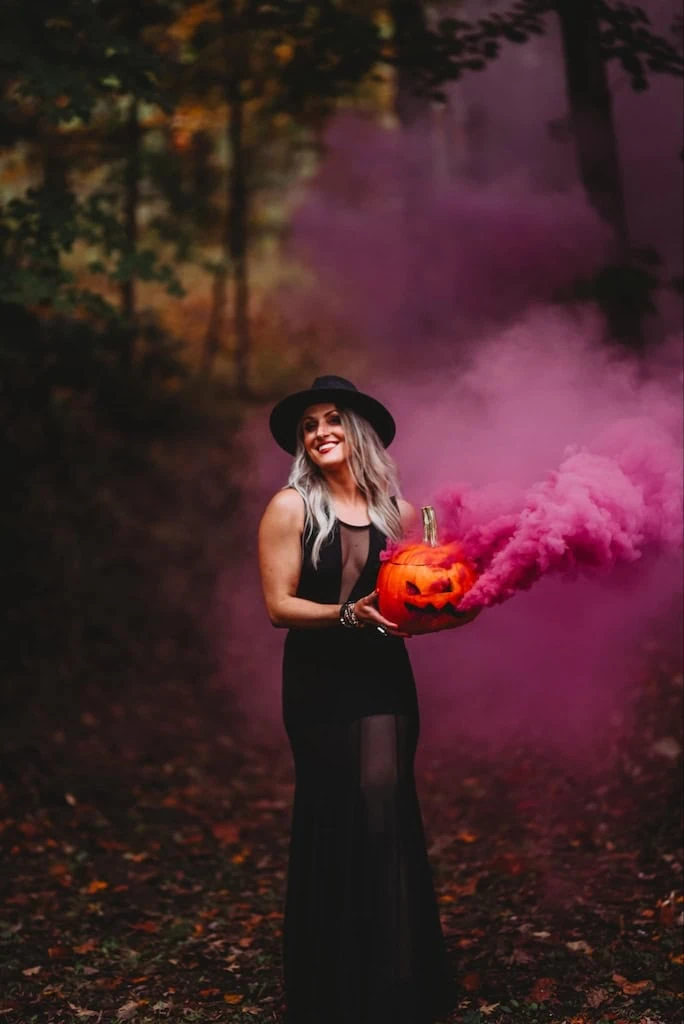
Pulling off the “smoking pumpkin” photo was surprisingly easy!
I used a real pumpkin for these photos. I had some people ask if you could use a plastic one, and I think it would depend on how thick and durable the plastic was. My real pumpkin held up very well and didn’t melt or become soggy, even after placing 2 smoke bombs inside (one at the beginning of our shoot, and one again at the end).
Steps for Carving Your Pumpkin
- Pro Tip: Buy AND carve your pumpkin the day of your photoshoot to ensure it won’t start rotting
I carved my pumpkin into a standard jack-o-lantern. Keep in mind, you will have smoke surrounding it, so even if it’s not perfect, chances are the smoke will cover up any imperfections. For a shoot like this, it’s best to use a medium-sized pumpkin.
- I started by cutting off the top with a large kitchen knife, then scooped out the insides with a large spoon. Once you get the pulp and seeds into a clump, it’s easier to use your hands to dig it out (I wore kitchen gloves for this part).
- Next, I drew the eyes and mouth with a Sharpie before using the same knife to carve them out. If you find your pumpkin is too thick, take the spoon and scrape out more of the insides to thin the walls out.
- I didn’t go crazy with my design on my pumpkin. Basic triangle eyes and crooked mouth. I figured the smoke would cover up a lot of his face anyway!
- This whole process took me 15-20 minutes max and was surprisingly easy!
Taking the “Smoking Pumpkin” Photos
Once Kelsey and I started shooting, I simply ignited my smoke bomb, took the top off of my pumpkin, dropped the smoke bomb inside, put the top back on, and starting posing. I also tried a couple with the top of my pumpkin left off, as shown in the photo below (keep in mind, you may get more smoke in your face this way!).
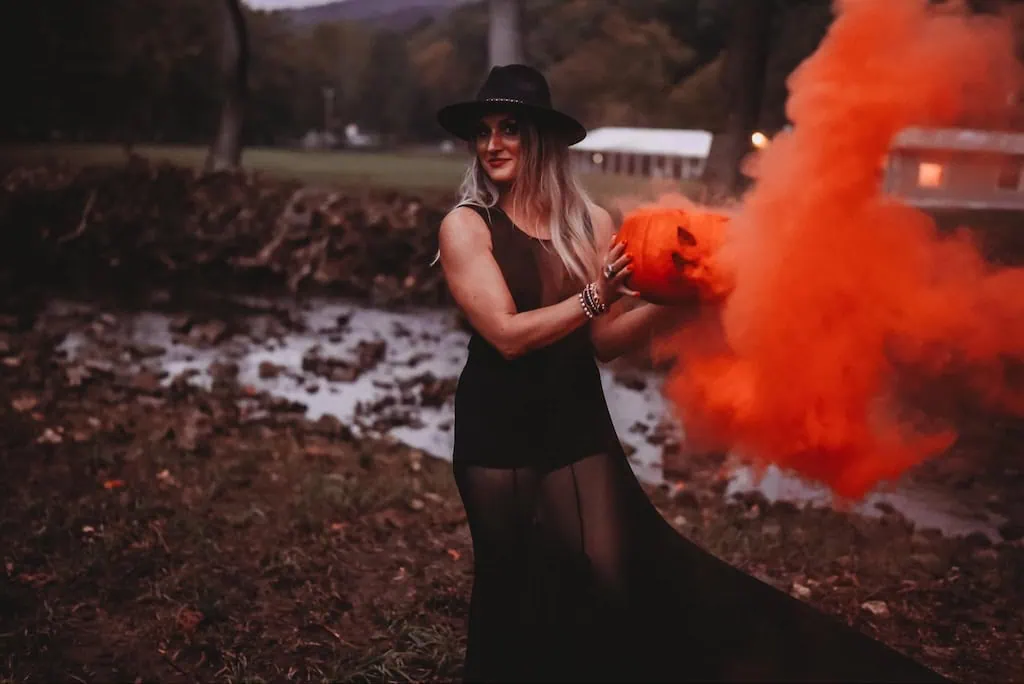
(Remember when I said my skirt got caught and I couldn’t move? This was the one good photo we got during that mishap. RIP to my outfit AND orange smoke bomb!)
THAT’S IT! It’s seriously that easy. The enclosed space of the pumpkin also allows for nice, thick smoke to come out, so the colors of your photos look really rich.
But despite the enclosed space, I found that I still got some smoke in my face. If you find this is happening, just remember to keep moving to a different spot so that your face is in focus. I would usually try to move forward and hold the pumpkin more at hip level any time the smoke started going in my face. But despite all this, I had to get at least one “pumpkin head” shot…
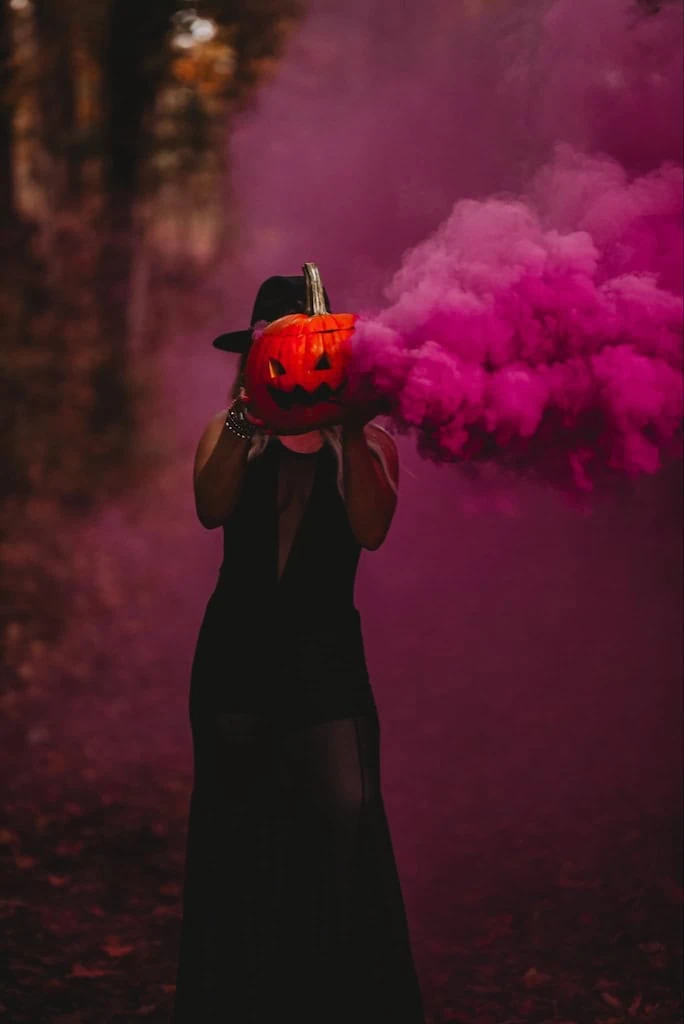
One of my favorite photos from the entire shoot

